Preparation guide
How to Prepare for a Remote Headshot
A remote headshot session is simple, but a few small setup choices make a visible difference. This guide helps you choose the right light, background, phone position, wardrobe, and pre-session checks before you join.
You do not need studio gear or a perfect room. You need a clean starting point, a stable phone setup, and enough space for the photographer to guide lighting, framing, posture, and expression in real time.
Preparation takes about 10 to 15 minutes: pick a spot, check clothing, clean the lens, and set the phone at a good height. The appointment itself depends on how you were booked — a company portal session is scheduled for 15 minutes, while an individual package session runs about 25 to 45 minutes. See how a remote headshot session runs.
Quick checklist
How do I prepare for a remote headshot session?
Sit facing a window, put the phone on a stable surface at eye level, use the rear camera, and wear a solid color you would wear to a client meeting. Wipe the lens. Company portal appointments are scheduled for 15 minutes and individual package sessions run about 25 to 45 minutes; either way the photographer fixes everything else live.
Use this as the fast version before joining your session.
- Choose a quiet place where you can stand or sit comfortably.
- Face soft window light if possible.
- Avoid direct sunlight, ceiling spotlights, and strong light behind you.
- Keep the background clean, calm, and not too close to your head.
- Place your phone at eye level on a stable stand, tripod, or stack of books.
- Wipe the camera lens.
- Charge your phone or keep it plugged in.
- Wear something that fits the professional use of the final image.
- Move clutter, bright objects, and visible personal items out of frame.
- Turn on do-not-disturb before capture begins.
- Join a few minutes early if your session instructions ask you to.
The sections below explain each item in more detail. For background guidance, see the background options page.
Choose the right location
The best place is not always the most designed room. It is the place with clean light, enough space, a simple background, and minimal interruption.
A home office, living room near a window, office conference room, coworking room, or hotel room can all work if the photographer can see your face clearly and guide the framing.
For a longer walk-through with example setups, see how to take a professional headshot at home.
Look for:
- A quiet spot where you can hear live direction.
- Enough room to step away from the wall or background.
- Light that can be softened or adjusted.
- A background that does not compete with your face.
- A stable surface for your phone.
- Minimal interruption from coworkers, pets, traffic, screens, or people walking behind you.
For deeper background and location guidance, see the background options page.
Find better light
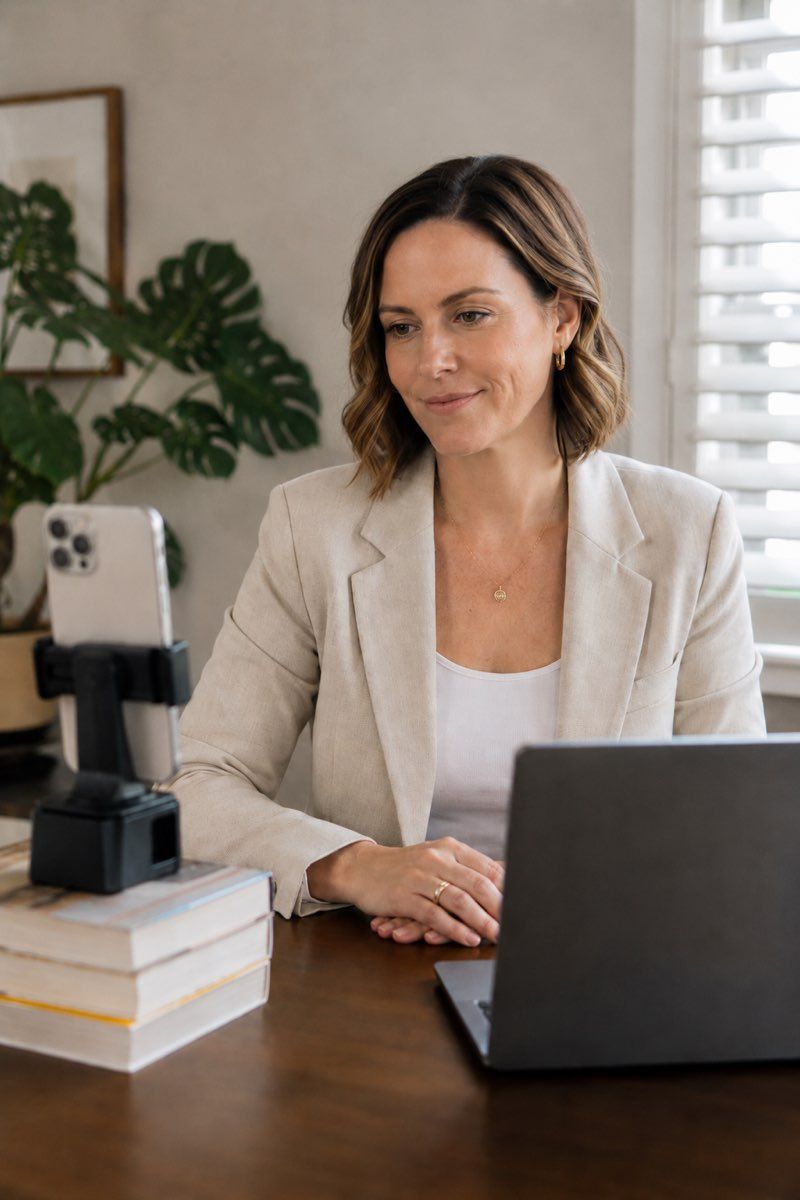
Light is the biggest setup factor. Editing can polish a good capture, but it cannot fully rebuild harsh shadows, mixed color, or a face that starts in silhouette.
Use these rules:
- Face a window indirectly so soft light reaches the front and side of your face.
- Avoid direct sun on your face because it creates hard shadows and squinting.
- Avoid placing the main window or lamp behind your head.
- Turn off harsh overhead lights if they create shadows under your eyes.
- Add a soft lamp near eye level if the room is dim.
- Avoid mixing very warm bulbs with cool daylight when possible.
- Keep the brightest part of the frame on your face, not behind you.
Do not worry if the light is not perfect. The photographer will adjust angle, position, and framing before capture begins.
Set up your phone
A modern smartphone is usually the best option for the session. A company portal session opens in the phone's browser, with nothing to install; for an individual package, follow the session link and joining instructions sent for your appointment.
If you are shooting on an iPhone, the iPhone camera settings guide covers lens choice and Portrait mode.
Before joining:
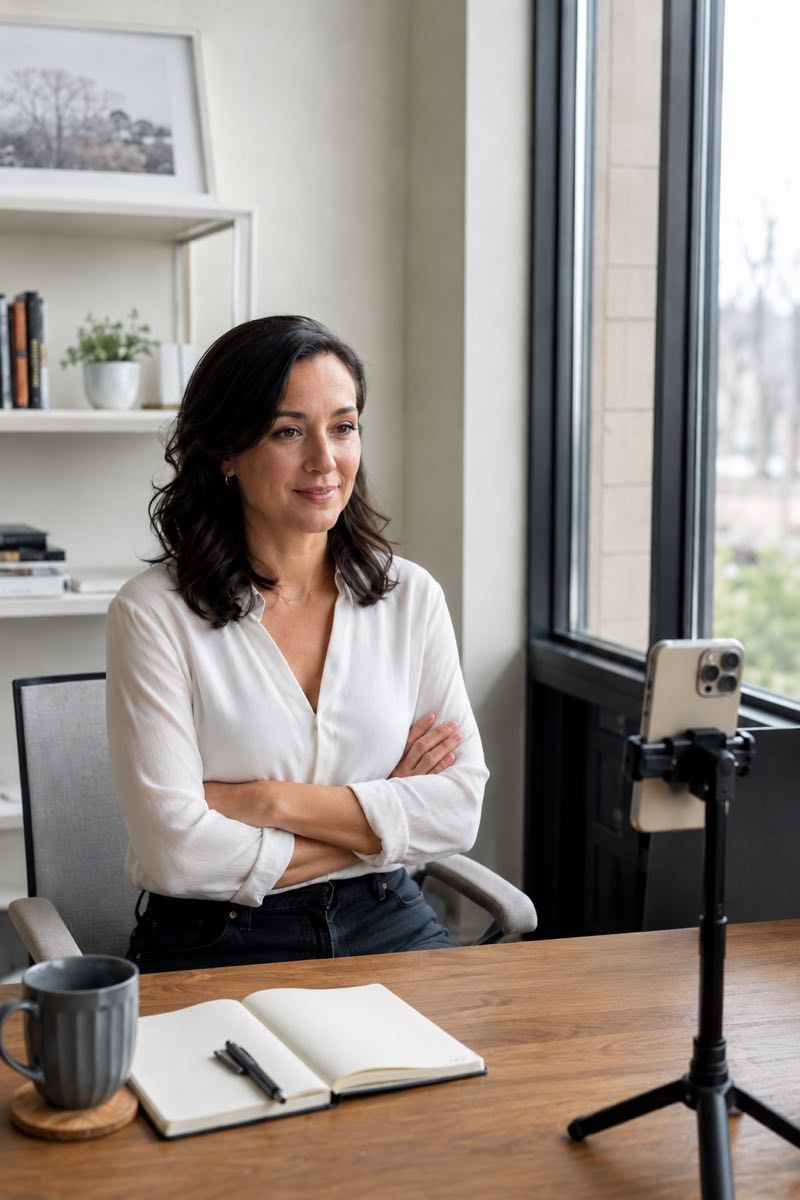
- Place the phone at eye level. A desk-level camera is usually too low.
- Use a stable tripod, phone stand, shelf, or stack of books.
- Start roughly an arm's length away. The photographer will fine-tune distance and framing.
- Use the rear camera if the app or session setup supports it.
- Wipe the lens before joining.
- Charge the phone or keep it plugged in.
- Turn on do-not-disturb so notifications do not interrupt capture.
- Keep the phone still once the photographer has adjusted the frame.
The goal is not to self-shoot. The goal is to give the photographer a stable view so they can direct and capture the image properly.
Choose a clean background
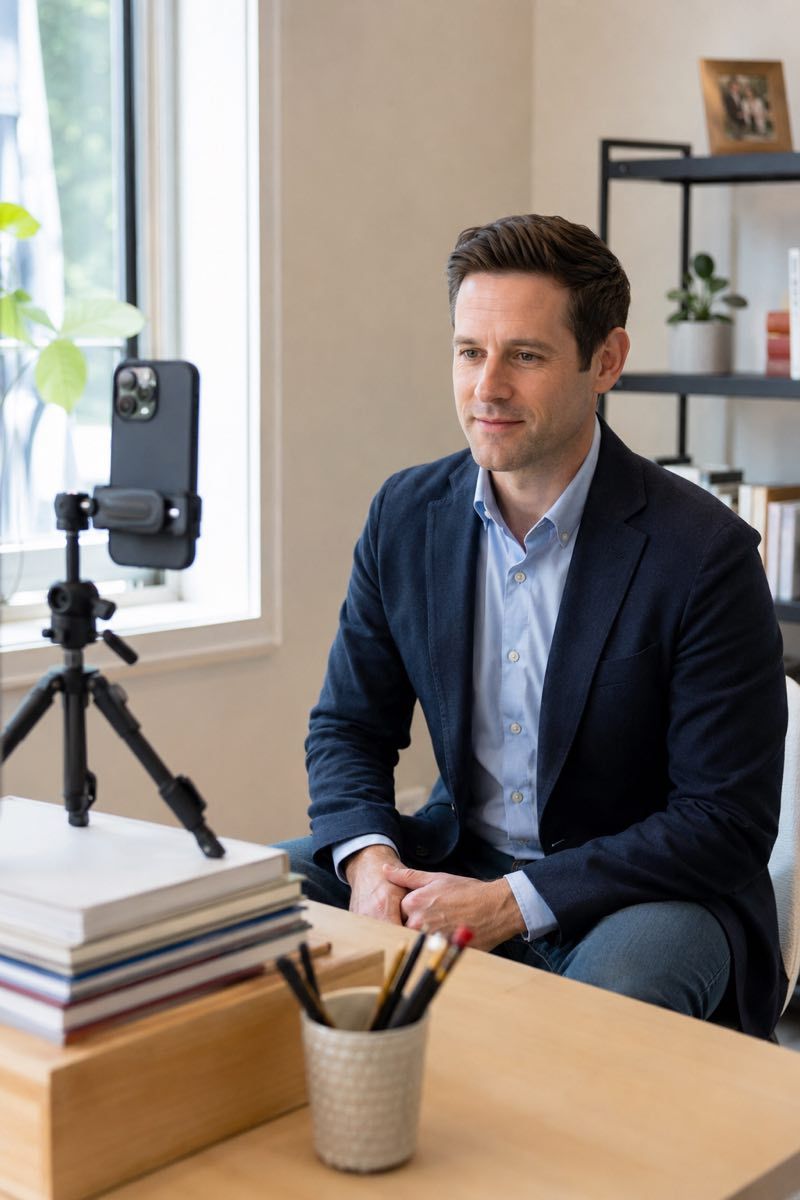
The background should support the headshot, not become the subject. A calm wall, curtain, or simple interior corner usually works better than a busy room. For a longer walkthrough, read the best background for a professional headshot.
Use these rules:
- Choose a neutral or quiet background when possible.
- Step a few feet away from the wall so the background does not feel flat.
- Move clutter, bright objects, screens, personal items, and visible branding out of frame.
- Avoid busy patterns directly behind your head.
- Avoid a background that matches your hair or outfit too closely.
- Keep the space behind you simple enough to read cleanly at LinkedIn and website size.
For curated background standards, see the background options page.
What to wear for a remote headshot
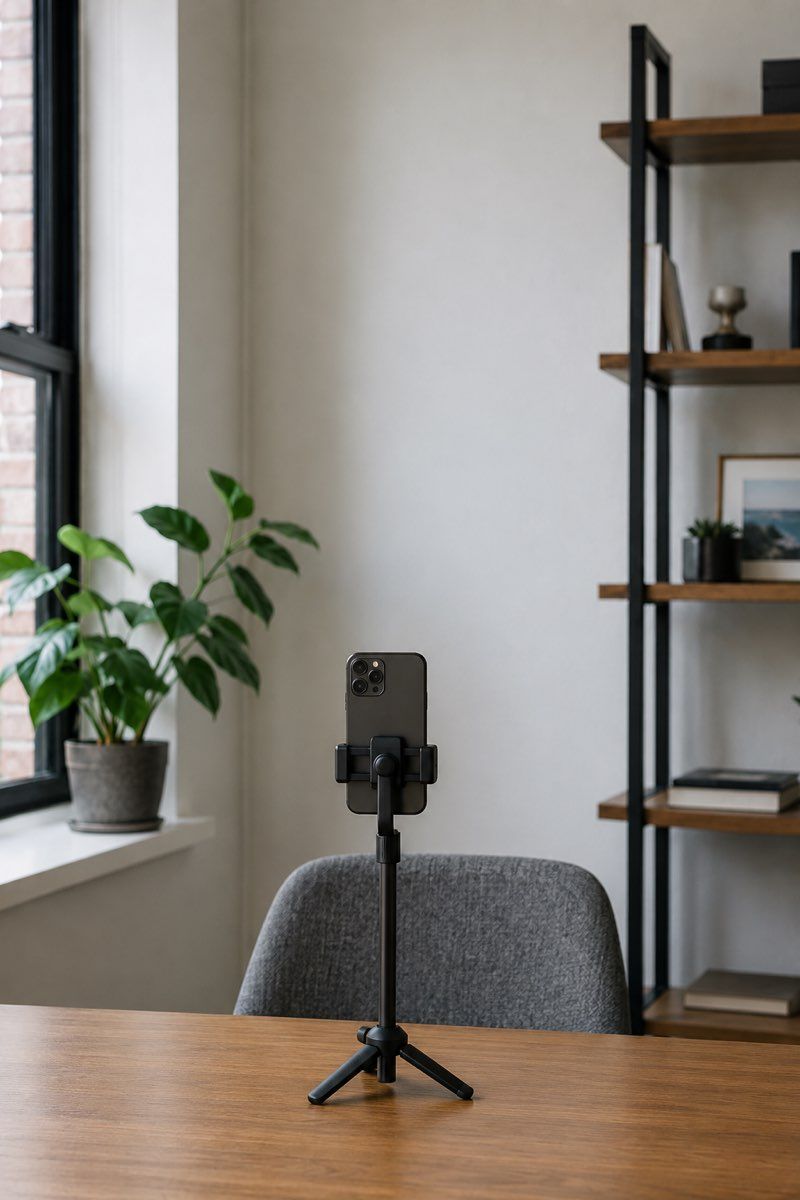
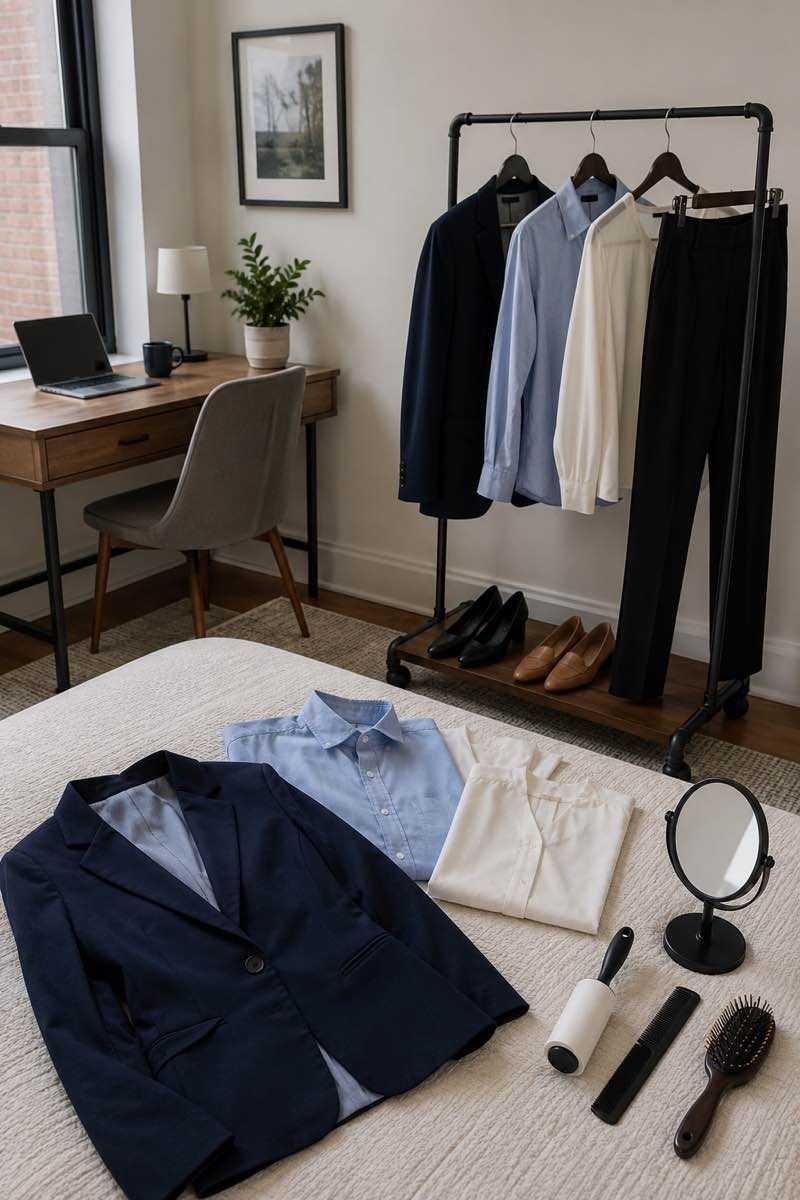
Wear what you would wear to a meeting where the people matter. The crop is tight, so the neckline, front of the shirt, jacket, and hair shape will carry most of the visual impression.
What colors to wear
Good choices:
- Solid colors or simple textures.
- Clean necklines and structured layers.
- Jackets, shirts, sweaters, or tops that fit well when seated or standing.
- Colors that separate from the background.
- Clothing that matches the intended use: LinkedIn, company bio, press, recruiting, or internal profile.
Avoid:
- Busy patterns that shimmer or distract.
- Large logos and graphic prints.
- Heavy wrinkles on the front of shirts or jackets.
- Pure white directly under the chin if it washes out your skin tone.
- Last-minute outfit choices that feel unfamiliar or uncomfortable.
Grooming: follow your normal routine. Natural retouching can clean up small distractions, but the best result still starts with hair, clothing, and skin looking intentional before capture.
Posture, expression, and comfort
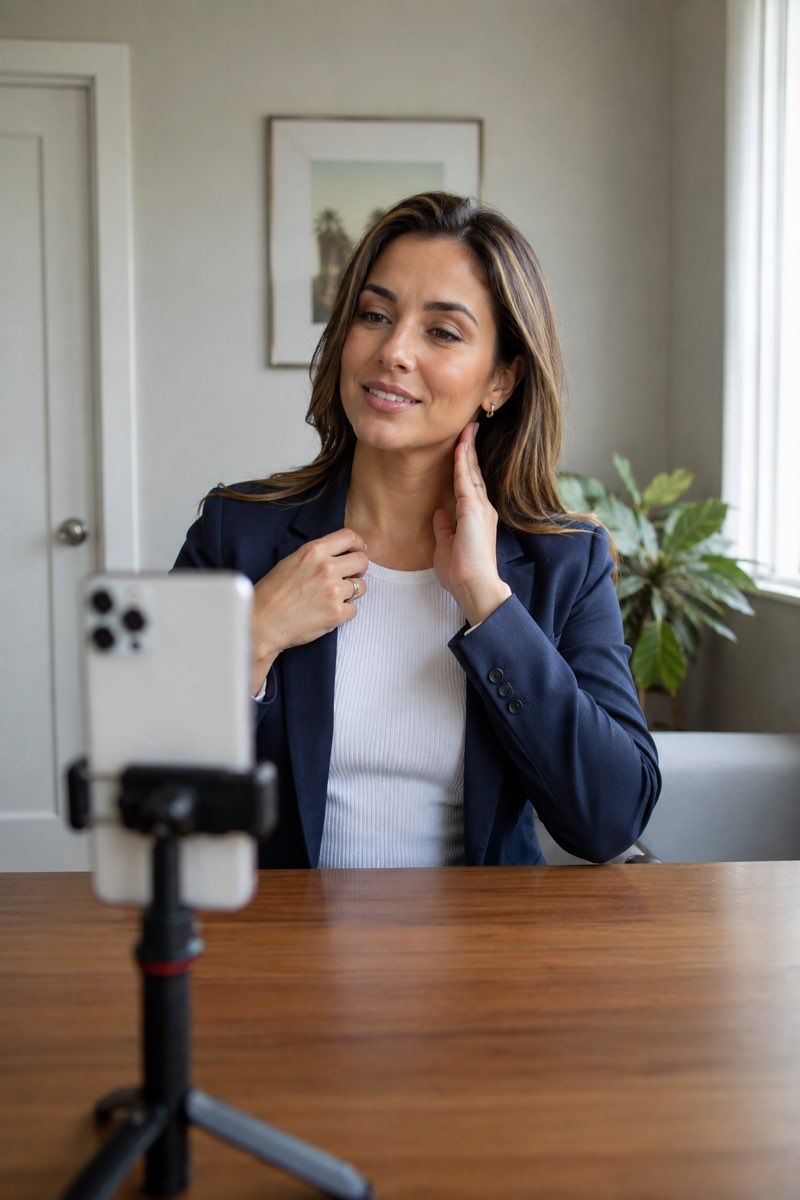
You do not need to plan the perfect smile or memorize a pose. The photographer will guide posture, head position, expression, and small adjustments live.
Before the session:
- Sit or stand in a way that feels natural.
- Keep your shoulders relaxed.
- Avoid locking your jaw or holding one expression.
- Breathe between frames.
- Keep water nearby if your mouth gets dry.
- Let the photographer pace the session.
The first frames often feel a little tense. That is normal. Live direction is there to move you past that point and into a more natural expression.
What should I do right before the session starts?
Five minutes before the session, do a simple check so the live capture can start smoothly.
- Open the session link from your invitation or booking confirmation.
- Check that your phone is charged or plugged in.
- Confirm camera and microphone permissions if prompted.
- Close heavy apps that may slow down the connection.
- Turn on do-not-disturb.
- Close the door if pets, family members, or coworkers are nearby.
- Keep water within reach.
- Wipe the camera lens.
- Join a few minutes early if instructed.
The photographer will review your frame before capture, but these checks prevent the most common delays.
Common mistakes
Small things that quietly hurt the result
-
Backlight
The main window or lamp is behind you instead of in front of you. Result: your face becomes darker than the background.
-
Camera too low
A phone or laptop sitting flat on a desk points upward. Result: the face is distorted and the chin becomes too prominent.
-
Harsh overhead light
Ceiling lights create shadows under the eyes. A softer window or lamp near face level usually works better.
-
Smudged lens
Fingerprints and pocket dust make the image look hazy. Wipe the lens right before joining.
-
Cluttered background
Shelves, screens, bright objects, and personal items compete with the face. Move them or change the angle.
-
Notifications during capture
Sounds and banners can interrupt the session or shift focus. Use do-not-disturb before the photographer starts capturing.
-
Frozen expression
Holding one expression too long can read as tense. Breathe between frames and let the photographer guide the pace.
-
Rushed setup
The session is short, but preparation matters. Five extra minutes before joining can improve every frame.
If you are running team or company sessions
Send this guide to participants before they book or before their assigned session time. A shared preparation standard helps each person arrive with a similar starting point, which makes the final team set easier to keep consistent.
If your company runs a portal programme, the participant path is:
- Open the invitation your company sent to your work email.
- Sign in with a one-time link or six-digit code — there is no password.
- Choose an available time; the calendar shows it in your own time zone.
- Read your company's brief so you know the background and crop being used.
- Charge the phone, test the connection, and complete the camera check.
- Join the session in your phone's browser at the appointed time.
More detail is in what an employee sees.
For team admins:
- Add this guide to the booking confirmation.
- Share the expected wardrobe direction, such as business casual, executive, or company-standard attire.
- Define the preferred background direction if the team needs one consistent look.
- Ask participants to test their space and phone setup before the session day.
- Provide a fallback contact for device, connection, or scheduling issues.
- Remind new hires that they will receive live direction and do not need to self-shoot.
For team workflow, see remote team headshots and new hire headshots.
If you are the person organizing it rather than the person being photographed, start with how to get headshots for remote teams.
Related resources
Where preparation connects
Common questions
Questions about preparation.
How long do I need to prepare for a remote headshot?
Plan on about 10 to 15 minutes before the session. Choose your location, check your light, position your phone, wipe the lens, and make sure the session link opens correctly and the camera check passes.
What kind of location works best?
Choose a quiet place with soft light, enough space to step away from the background, and minimal visual clutter. A home office, living room, conference room, coworking room, or hotel room can all work if the frame is calm.
Do I need a ring light or studio gear?
No. A window with soft indirect light is usually enough. If the room is dim, a simple lamp near eye level can help. The photographer will guide the final light and camera position live.
Can I wear glasses?
Yes. If you normally wear glasses, you can wear them for the session. The photographer will adjust your head angle, phone position, and light direction to reduce reflections.
What should I wear?
Wear something that fits the professional use of the final image. Solid colors, simple textures, clean necklines, and structured layers usually photograph better than busy patterns, large logos, or heavily wrinkled clothing.
What if I am running late or my setup is not working?
Message the team as early as possible. Depending on availability and rollout timing, the session can be adjusted or rescheduled, and the photographer can help troubleshoot simple setup issues when you join.
Should the whole team prepare the same way?
Yes, if the goal is a consistent team page or employee directory. Share the same preparation guide, wardrobe direction, and background standard with every participant before they book or join.
Ready when you are
Join prepared. Let the photographer handle the rest.
Once your light, background, phone position, and wardrobe are ready, the session becomes much easier. The photographer will guide the final details live and capture the strongest version from there.